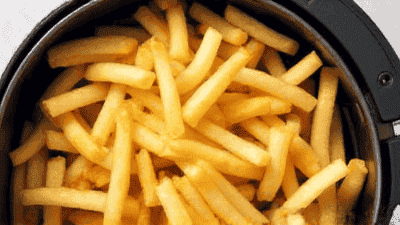
Air fryers have taken the culinary world by storm, becoming a popular kitchen appliance in homes across the globe. They offer a convenient way to enjoy crispy, delicious meals without the excess oil traditionally used in frying. However, just like any other cooking tool, your air fryer requires regular cleaning to maintain its performance and ensure your food tastes great.
Cleaning your air fryer is vital for health and safety. Residual food particles and grease can harbor bacteria, potentially contaminating your meals. A clean air fryer prevents cross-contamination and ensures your food is safe to consume.
A clean air fryer performs better. Grease buildup can affect the appliance's efficiency, leading to longer cooking times or uneven cooking results. Regular cleaning helps maintain optimal performance so that you can enjoy perfectly cooked meals every time.
Old food residues can transfer unwanted flavors to your dishes. Cleaning your air fryer regularly will help preserve the natural flavors of the ingredients you are cooking, ensuring that each meal is delicious.
Before diving into the cleaning process, it's essential to gather the necessary tools and supplies. Here’s what you’ll need:
A soft sponge or microfiber cloth is gentle enough not to scratch the surfaces of your air fryer while effectively removing grime and grease.
A soft-bristled brush (like a toothbrush) can help reach tight spaces and nooks where food particles may accumulate.
Use a mild dish soap for cleaning. Avoid abrasive cleaners, which can damage the non-stick coating of the basket or the interior.
Both vinegar and baking soda are excellent natural cleaners. They are effective at cutting through grease and odors while being non-toxic and safe for food preparation areas.
Keep paper towels on hand for quick wipes and drying surfaces after cleaning.
Tongs can be useful for flipping or maneuvering parts of the air fryer, especially if they have a non-removable rack.
Cleaning your air fryer doesn’t have to be a daunting task. Follow these steps for a thorough and efficient cleaning process.
Always ensure the air fryer is unplugged and cooled down before cleaning. This prevents burns and allows you to handle the appliance safely.
Remove the basket, pan, and any other detachable parts according to the manufacturer's instructions. This will allow for easier and more effective cleaning.
1. Soak in Soapy Water: Fill your sink or a large bowl with warm, soapy water and let the removable parts soak for about 15 to 20 minutes. This will help loosen any stubborn food particles.
2. Scrub Gently: Use a soft sponge or cloth to scrub the basket and pan. Focus on any areas with stuck-on food. A soft-bristled brush can be utilized to reach corners or crevices.
3. Rinse Thoroughly: After scrubbing, rinse each piece under warm running water to remove soap and food residues.
4. Dry Completely: Use a clean towel or paper towel to dry the parts thoroughly, ensuring no moisture remains before reassembling.
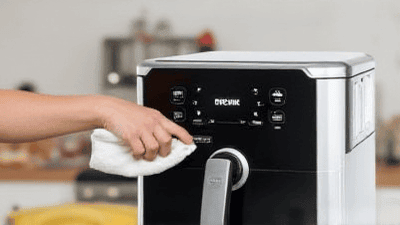
1. Wipe Down Surfaces: Dampen a cloth or sponge with warm, soapy water and wipe down the interior surfaces of the air fryer. Avoid using abrasive materials that can scratch the non-stick coating.
2. Use Baking Soda Paste for Stubborn Spots: If you encounter stubborn grease or food particles, make a paste of baking soda and water. Apply it to the affected area and let it sit for 5-10 minutes before gently scrubbing.
3. Rinse with Vinegar: After cleaning, dampen a cloth with vinegar and wipe down the interior again to neutralize odors and remove any remaining residues.
The heating element can accumulate grease and food particles over time. Cleaning it helps maintain effective cooking.
1. Wait Until Cool: Allow the air fryer to cool completely before attempting to clean the heating element.
2. Gently Wipe with a Damp Cloth: Use a damp cloth or sponge to wipe down the heating element. Avoid direct contact with water; instead, wipe the surface.
3. Remove Debris with a Brush: If there are any stubborn residues, use a soft brush to carefully dislodge them.
After all parts are thoroughly cleaned and dry, reassemble your air fryer according to the manufacturer's instructions. Ensure everything fits securely.
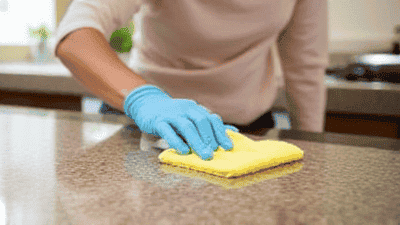
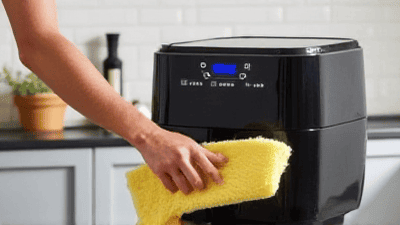
Use a clean, dry cloth to give the entire exterior of the air fryer a final wipe down. This will remove fingerprints and ensure it looks fresh and clean.

To minimize mess, consider using parchment paper or silicone mats in your air fryer basket. These products can help catch grease and food particles, making cleanup a breeze.
Make it a habit to clean your air fryer after every use. Quick cleaning prevents the buildup of grease and food residues, saving you time during deeper cleans.
Certain foods are more likely to produce debris and grease. Consider avoiding heavily breaded or fried items, or be prepared for more frequent cleaning after preparing these foods.
Using excessively high temperatures can cause food to burn onto surfaces, making cleanup tougher. Follow recipes that recommend appropriate cooking temperatures for optimal results and easier cleaning.
Taking care of your air fryer goes beyond just cleaning it after use. Regular maintenance can help prolong its lifespan and maintain performance.
Avoid stacking items on top of your air fryer or placing it in cramped spaces. Allow enough airflow around the appliance to prevent damage and overheating.
Regularly inspect your air fryer for any signs of wear and tear, especially on non-stick surfaces. If any parts become damaged, consider replacing them to ensure continued safety during cooking.
Always refer to the user manual that comes with your air fryer for specific cleaning instructions and maintenance tips tailored to your model.
Respect cooking times indicated in recipes. Overcooking can lead to smoking and odors, making it necessary to clean more frequently.

Neglecting regular cleaning can lead to grease buildup and unpleasant odors. Set a cleaning routine to maintain your appliance.
Avoid harsh chemicals and abrasive cleaning tools, as they can scratch or damage the surfaces of your air fryer.
Many people skip cleaning the heating element, which can lead to smoke and uneven cooking over time. Make it part of your regular cleaning routine.
If your air fryer begins to smell unpleasant, it’s a sign that it needs cleaning. Don’t wait to clean; address odors promptly.
If your air fryer produces smoke during use, it could be a buildup of grease. Ensure that all removable parts are clean and that you have also cleaned the heating element.
Uneven cooking may indicate a dirty air fryer. Residue can block airflow, affecting cooking techniques. Clean the appliance thoroughly to resolve this issue.
Unpleasant odors can arise from previous cooking. If you encounter this, clean the interior and consider running a cycle at a high temperature with a bit of vinegar in the basket to remove lingering smells.
If the non-stick coating is peeling, it may be a sign of using abrasive cleaners or improper cleaning techniques. Invest in quality cleaning tools and replace damaged parts.
Cleaning your air fryer is a simple yet essential task that ensures your appliance remains in top-notch condition while providing delicious meals time after time. By following the tips and techniques outlined in this guide, you can make the cleaning process easier and more efficient, allowing you to focus on enjoying your culinary creations.
With regular maintenance and careful cleaning, your air fryer will continue to serve you well, helping you prepare healthy, flavorful dishes with ease. Embrace the convenience of this fantastic kitchen tool, and make cleaning it part of your regular routine for optimal performance!